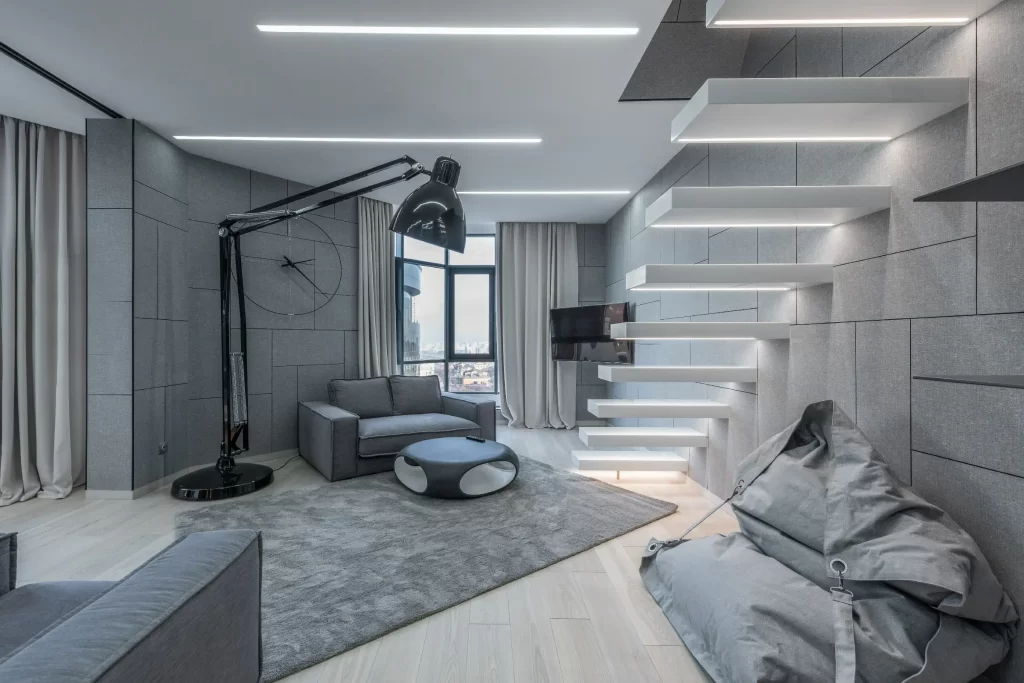
Recently, mood lighting is become a popular trend, especially among content creators and gamers who install color-changing lights in their bedrooms and living rooms. The most popular DIY option for home ambiance is RGB LED strips, which are affordable and customizable based on the room and application.

This tutorial provides a step-by-step guide on how to install RGB LED strips in your room. With a bit of planning, ensuring you have the right length of strips along with compatible controllers and power supplies, you can successfully complete the installation. Next, connect the strips using the purchased connectors and jumper wires or soldering methods. Finally, our experts have assisted with thousands of RGB strip projects, and this DIY guide will cover all these steps and more to make the process easier to understand.
Tools & Materials Tools
- Scissors
- Tape Measure
- Note Pad and Pencil
- Optional: Solder Iron & Solder
LED Supply Materials
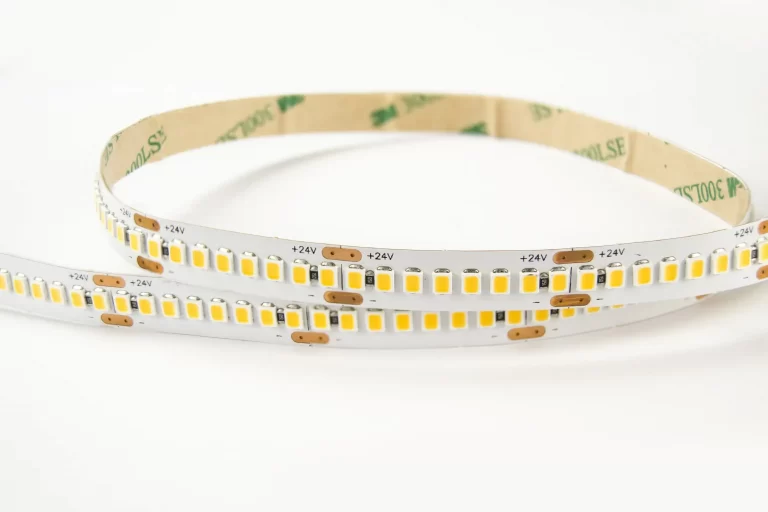
- RGB FlexibleStrips
- Power Supply
- RGB Strip Controller
- RGB Strip Jumpers
- EZ Strip Connectors
- 20 AWG Extra Wire
- Optional: LED Strip Splitters
Instructions
Step 1: Planing and measure your area
This step involves measuring and planning the placement of the LED strips and connecting wires. It’s crucial to note the direction of the strips and the length needed from the power supply to the strips. If you only need to run a single length of strip, this process can be straightforward. However, most projects require multiple lengths or involve several gaps or corners. You need to carefully plan these sections and how to connect them together or back to the power supply separately.
TIPS
- Before doing anything else, make sure to plan your installation. Sketch a rough layout of the area, marking the locations of the fixtures and the power supply.
- Consider the distance from the power supply to the starting point of the LED strips, as well as the spacing between the strips. You’ll need jumper wires or extra wire to fill these gaps.
Step 2: Choosing RGB Strip
Searching for LED strips can quickly become overwhelming due to the vast array of options available. They vary by color, size, density, and more. Within RGB color-changing strips alone, there are several different types based on color:
- RGB, Non-Addressable: Each LED on the strip can display red, green, blue, or white (a mix of all three) and is powered by three input wires—one for each color. All LEDs display the same color simultaneously, and you change the color by adjusting the voltage on the three input lines. This is the most common type used at LEDSupply and the focus of this tutorial.
- RGB, Addressable: Similar to the above, but each LED has its own control line, allowing for individual triggering to create chasing and flashing effects. Note: This type is currently in development and is not yet offered by LED
- RGBW or RGBWW: These strips combine monochrome white light with RGB, providing additional options. This type has four power wires instead of three.
Strip Density
The density of LED strips varies, indicating how many LEDs are placed per foot (or meter). Common densities for RGB strips include:
- Standard Density: 30 LEDS/M
- High Density: 60 LEDS/M
- RGB + White Strip: 96 LEDS/M (alternating RGB/single color diodes)
Higher density results in brighter lighting but also increases power consumption. For most bedroom applications, a density of 30 LEDs/m is ideal, as you typically don’t want excessive brightness. However, you may consider increasing the density in more spacious areas.
Waterproof vs. Non-Waterproof
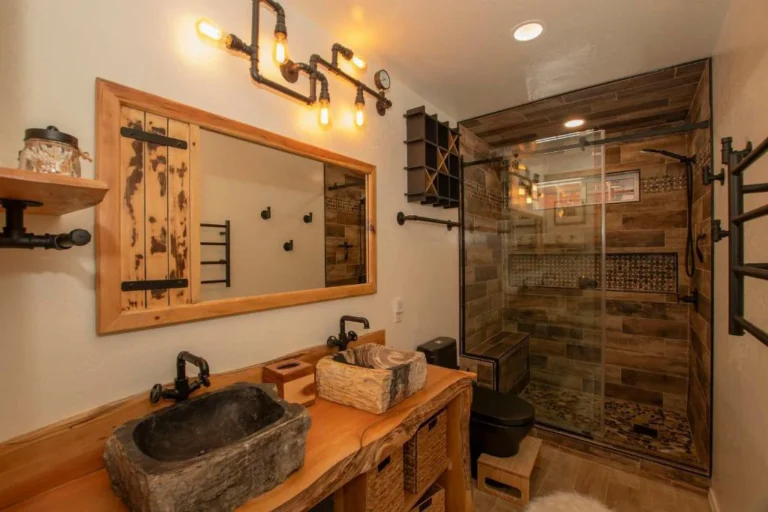
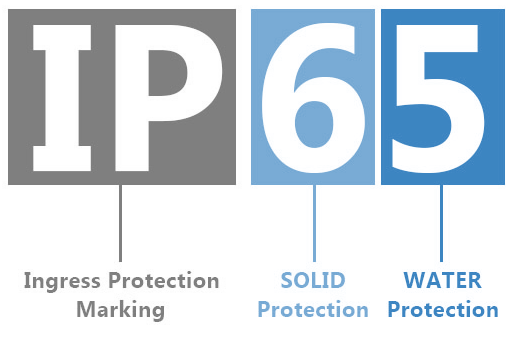
Whether the strips are waterproof depends on your intended application. For example, installations in bedrooms, which are dry areas, do not require waterproofing. In contrast, if you’re installing strips in potentially humid environments like bathrooms or kitchens, you may want to consider higher waterproof ratings.
Step 3: Finding a Compatible Power Supply
To select the right power supply, you need to know the input voltage and maximum power consumption required by your RGB strips. The rated power largely depends on the length of the strips (from Step 1) and the type of strips (from Step 2), which is why we wait until Step 3 to address this.
Voltage
Check the voltage requirements for your strips. Our strips typically operate at 12-24V DC, which is standard for most flexible color-changing LED strips.
Wattage
At LED Supply, we provide a wattage chart on each strip’s page to give you the most accurate wattage estimate, allowing you to specify your power supply as closely as possible.
Detailed Wattage Table for 12V LED Strips
| Length (Ft.) | Length (Meters) | 30 LEDs/M Wattage | 60 LEDs/M Wattage |
| 1 | 0.3048 | 2.4 | 4.8 |
| 2 | 0.6096 | 4.8 | 9.6 |
| 3 | 0.9144 | 7.2 | 14.4 |
| 6 | 1.8288 | 12.15 | 20.8 |
| 9 | 2.7432 | 17.1 | 27.2 |
| 12 | 3.6576 | 22.05 | 33.6 |
| 16.4(full reel) | 5 | 27 | 40 |
Many manufacturers list the rated power of LED strips based on the wattage per meter (with a single length of 1 meter). For our strips, the standard density is 7.2 watts, while the high density is 14.4 watts.
However, these strips operate more efficiently over longer lengths. As shown in the chart, the power consumption at a distance of 9 feet is 17.1 watts for standard density and 27.2 watts for high density. Since 9 feet equals 2.7432 meters (as noted in the second column of the conversion), we divide these total values by this length, revealing that the actual operating power at 9 feet is only 6.23 watts/m and 9.9 watts/m for the respective densities.
This illustrates that if you only consider the static wattage per meter, you could quickly overestimate the power requirements for the supply. For LED strips, this figure is dynamic and changes based on length. To assist you, we’ve created these charts to help buyers accurately assess their needs.
TIPS
- If your length falls between two values not listed in the chart, such as 14 feet, it’s best to add the wattages for 12 feet and 2 feet. For instance, the wattage for a 30 LEDs/m strip would be 26.85W.
- If you have multiple shorter runs (less than 1 foot), it’s advisable to use the static wattage per meter, as this will account for all the current you need. As we’ve noted, the efficiency of the strips decreases at shorter lengths.
Step 4: Finding an RGB Strip Controller
RGB strips require a controller to function. There are many options available, depending on how you want to control them and their size. You can choose a simple handheld remote or use a smartphone app to control the strips via WiFi.
Like power supplies, controllers also have a maximum rated power. It’s crucial to ensure that the controller can handle the power of the strips. To do this, check the controller’s maximum amperage. Multiply this by the input voltage to determine the maximum power the controller can manage. (Sometimes, amperage is listed per channel; since RGB strips have three channels, you can multiply this number by 3 to estimate the total maximum amperage it can handle.)
Step 5: How to Connect LED Strips Together?
Connecting RGB strips in a room is straightforward, whether you’re cutting and connecting two or more strips.
There are two methods: using connectors or soldering them together. Soldering is usually the best choice for a permanent connection, but modern connectors are significantly more advanced than those of the past.
When you cut an RGB strip along the designated markings, one end will be flat with four connection points (the small copper pads):
- +12V: The positive line shared by the three colorson the strip.
- R: The red control line
- G: The green control line
- B: The blue control line
These four lines need to run from the controller to the end of the strip to ensure consistent color across all segments. To prevent any wire crossover, using a 4-core wire is usually the best approach.
RGB connectors have four pins on one side that penetrate the copper pads for a secure connection. The other end accommodates the corresponding wires; once the wires are properly inserted, you can clamp them down for a secure fit. Repeat this process for any breakpoints on the LED strips, ensuring that the connection lengths do not exceed the maximum run length for RGB strips—typically 10 meters for standard density and 5 meters for high density.
Connecting Strips to Power Supply
First, connect the LED strip to the RGB LED controller, ensuring that the arrows on the strip align correctly.
Next, connect the power supply to the controller. Most of our controllers use a 2.1 mm male plug. If you’re not using a plug-in power supply, you can attach a 2.1 mm plug to one end of the connection.
Finally, connect the 110-120 VAC to the power supply. If you’re hard-wiring, make sure to turn off the power while making the connections.
Step 6: Installation
After five detailed steps and over a thousand words, we’re ready to install the strip lights. As you can see, much of the work in an RGB strip project relies on careful planning.
The first step is to clean any surface where the LED strip will be applied. This removes grease and dust, ensuring the best adhesion for the strip.
The strips come with an adhesive backing, making the application straightforward, but take your time. Rushing this step can lead to a hasty-looking finish, so ensure each section of the strip is straight and smooth as you apply it.
TIPS
- Make all connections before installation to avoid having to adjust them later, which could compromise the adhesive.
- After completing the connections, quickly connect the strips to the controller and power supply for a preliminary test. This will save time by preventing the need for fixes after installation.
- Install the strips in the desired locations, ensuring each one is connected or that each independent line has a 4-pin connection.
- Connect the strips to the controller. You may need a jumper wire for connecting across distances or a splitter if you have two separate strips connecting to one controller unit. Ensure all directional arrows on these plug-in accessories align.
- Finally, connect the power supply to the controller.
Step 7: Final Testing and Conclusion
Once all components are correctly installed, it’s time to plug in the power supply (or switch the circuit breaker if you’re hardwired) and test the setup. It’s a good idea to cycle through the red, green, and blue colors to ensure everything is functioning properly.
If you switch to a color and the strip goes dark, that line may have an issue. If none of the colors work, the 12V+ line could be the culprit.
If you’ve followed this guide, all your lights should illuminate, transforming your room with vibrant RGB strip lighting for the perfect ambiance.
As this article outlines, you can customize these strip lights to your heart’s content—your creative possibilities are endless!


