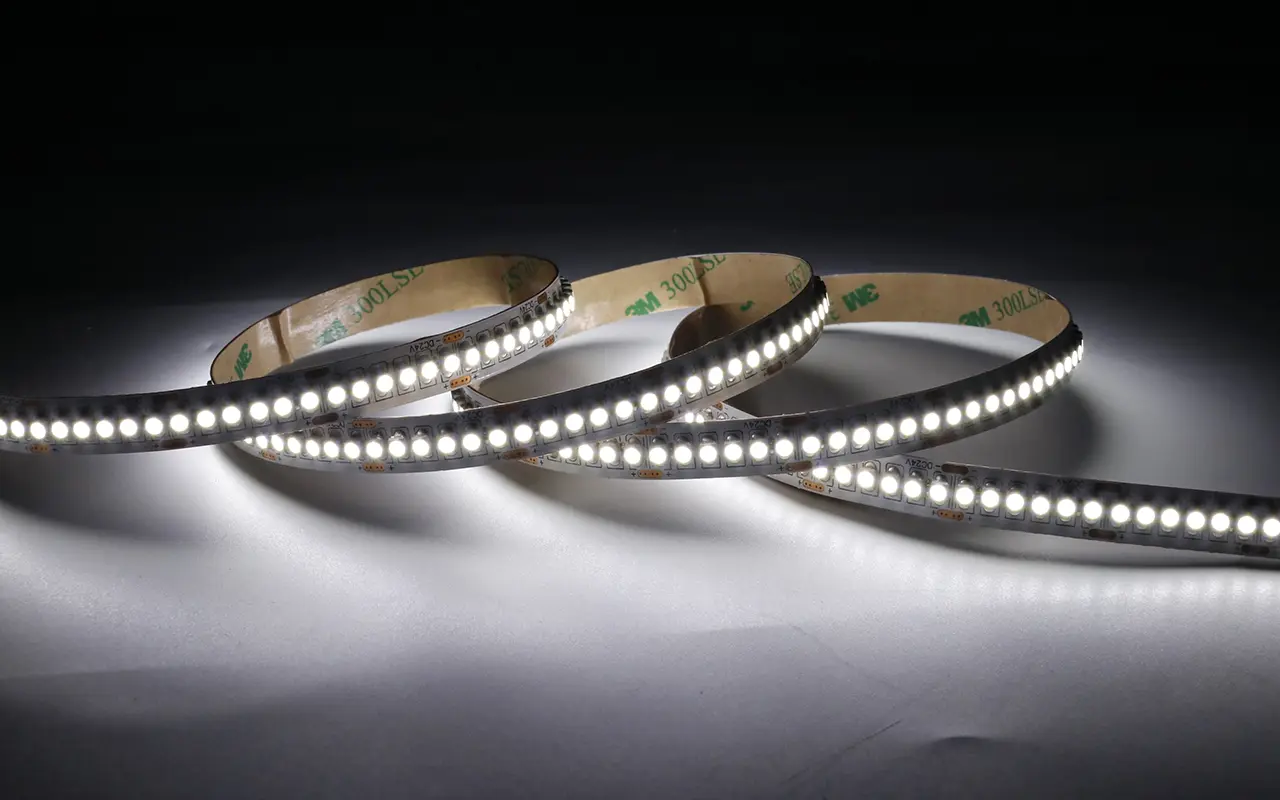
Working in dim lighting can lead to eye strain and headaches, making adequate brightness essential. However, the unfortunate reality is that LED strips often lose brightness for various reasons. So, how can you make them brighter?
The brightness of LED strips largely depends on voltage and current. Increasing the voltage (to a certain extent) can make LED strips brighter. Additionally, factors such as LED density, color temperature, humidity, and the quality of the LEDs also affect brightness. The simplest way to control LED brightness is by using an LED controller, but many other factors should be considered as well.

In this article, I will provide 16 methods to make LED strips brighter. But first, let’s explore the reasons why LED strips lose brightness:
The reason of LED Strip Lights Losing Brightness
LED strips are well-known for their consistent light output. However, due to various factors, they may begin to lose brightness over time. The common reasons for this include:
LED Density
The density of an LED strip refers to the number of LEDs per meter. The higher the density, the brighter the light will be. If you choose a low-density LED strip, its brightness will not be as high as one with more LEDs.
Color Temperature
The color of an LED strip also affects its brightness. Under the same lumens, cool light tends to appear brighter than warm light. Therefore, it’s important to consider the color of the LED strip before use. Warm light has a lower color temperature, creating a dimmer, more comfortable ambiance, while cool light, with its higher color temperature, looks brighter.
Heat
Although LED strips generate less heat compared to other forms of lighting, heat can still affect their brightness. For various reasons, LED lights may overheat, causing them to dim. Additionally, the casing or transparent cover of the strip may yellow due to heat, making the light appear less bright.
Humidity
Moisture is another major issue for LED strips. Accumulated moisture can corrode or rust internal components, which can reduce the brightness of the lights over time. This is particularly common in high-humidity environments. Therefore, when installing LED strips in such areas, it’s essential to use fully sealed, waterproof LED strips.
Strip Length
When extending the length of LED strips, voltage drop becomes a significant issue. As you connect multiple LED strips to increase their length, the brightness of the LEDs can gradually decrease. Therefore, LEDs closer to the power source will appear brighter, while those further away will dim as the length increases.
Design Quality
The quality of LED strips varies. Poor design and low-quality LEDs can cause your strips to lose brightness. Even if two LED strips from different brands have the same lumen rating, their brightness may differ. Many brands use substandard LEDs that fail to deliver the lighting effect promised on the packaging. To avoid this issue, purchase LED strips from reputable manufacturers who offer well-packaged, high-quality LEDs.
Strip Placement
The placement or positioning of LED strips also affects their brightness. For instance, if your room has a high ceiling, the brightness from LED strips alone might not provide sufficient ambient lighting. Additionally, factors such as light availability and the color of the room can influence the overall lighting effect and appearance of the light output.
Exposure to Elements
LED strips can have different brightness levels when installed indoors versus outdoors. A light that appears dim outside might seem excessively bright indoors. Surrounding lighting and the size of the space also play a role. Additionally, outdoor LED strips may face issues with dust accumulation, which can reduce their brightness.
Power Source
Insufficient power source can cause LED strips to dim. It’s crucial to ensure that the power supply provides the appropriate current and voltage for the LEDs to maintain adequate brightness. Loose wiring connections can also lead to reduced light output.
Aged Stripes
Over time, LED strips naturally lose brightness. Even new LED lights will experience a decrease in brightness as they age. Thus, as LED strips get older, their light output will gradually diminish.
16 Ways to Make LED Strip Lights Brighter
Now that you know the reasons why LED strips dim, how can you make them brighter? Here, I will introduce 17 effective methods to increase the brightness of your LED strips:
1. Select High Luminous LED Strips
The lumen value of a bulb determines the intensity of its light output. Choosing LED strips with a higher lumen rating will provide brighter lighting. So, if your current LED strip has a lumen value of 440 but seems dim, consider purchasing one with a higher lumen rating. However, be cautious not to install lights that are too bright, as they may cause eye discomfort. Here are some recommended lumen levels for different locations:
| Scenes | Recommended | |
| Dining Room | 440 – 800 lumen | |
| Home Office | 800-1000 lumen | |
| Bathroom | 330 – 400 lumen | |
| Workspace | 8,000 – 10,000 lumens | |
| Kitchen | 1000 – 1600 lumen | |
| Living Room | 230 – 440 lumen | |
| Bedroom | 230 – 270-lumen |
2. Increase The LED Density
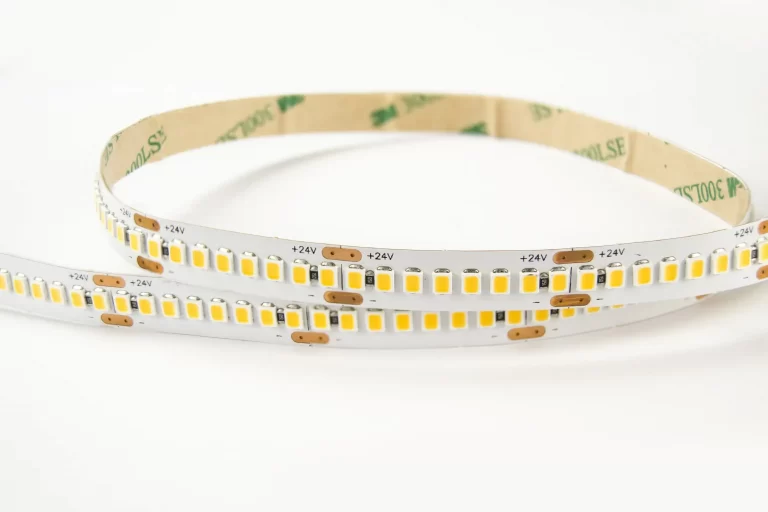
LED density refers to the number of LEDs per meter on the strip. LED strips are typically measured by the meter and come in various densities, such as 60 LEDs, 120 LEDs, 180 LEDs, and 240 LEDs per meter. As the number of LEDs increases, so does the brightness of the strip. High-density LED strips not only provide brighter illumination but also create a seamless lighting effect. Low-density strips may produce a dotted effect, but increasing the density eliminates this issue. In addition to the size of the LED chips, the SMD type also affects brightness. For example, SMD5050 is brighter than SMD3528.
3. Install on Reflective Surfaces
Another way to make LED strips brighter is by installing them on reflective surfaces. You can use aluminum foil, whiteboards, or even mirrors to achieve this. When the light from the LED strips hits a reflective surface, it bounces back, increasing the brightness of the lighting output. If the strips are installed on a flat wall, much of the light will be absorbed, making the illumination appear dimmer. In this case, aluminum foil is the most affordable way to create a reflective surface—simply attach it to the installation area. However, for optimal results, try installing mirrors.
4. Enhance the Power Supply
If the power source doesn’t provide enough energy for the LED strips, they won’t achieve sufficient brightness, and you might also experience flickering. LED strips can be powered by various sources, including standard plugs, USB, or battery-powered options. You can also connect them to solar panels. If you’re not satisfied with the current power supply, consider upgrading it to improve the lighting performance. To do this, check that the power source meets the current and voltage requirements of the LED strips. Additionally, ensure proper wiring and avoid overloading the system.
5. Use a Brightness Controller
Using an LED controller allows you to easily adjust the brightness of your LED strips. There are various types of controllers available, such as infrared, RF, 0/1-10V, DALI, RGB, DMX LED controllers, and more. Additionally, there are LED strip controllers that support Wi-Fi and Bluetooth. You can choose the controller that best fits your needs and the type of LED strips you’re using. These controllers not only help manage brightness but also allow you to change light colors, lighting modes, and more. Even more impressively, you can connect the LED strips to your smartphone, giving you the ability to control the lighting anytime, anywhere.
6. Choose High-Quality LED Strips
The quality of LED strips is crucial to achieving optimal brightness. While there are many brands on the market, their light output can vary significantly. Cheap brands often use low-quality LED chips, which can result in reduced brightness and performance that doesn’t match the ratings on the packaging. To avoid this, it’s important to purchase LED strips from reputable brands. If you’re planning a large lighting project, China is a great source for importing high-quality LED strips.
However, before purchasing any LED strips, be sure to check for the necessary certifications. This ensures that the product you’re buying is of high quality.
7. Use a Heat Sink
Overheating of LED strips can occur for various reasons, which may affect their brightness and even cause permanent damage. To prevent this, using a heat sink is essential. When LED lights are in operation, they generate heat, and a heat sink helps dissipate this heat, keeping the circuitry cool. This not only prevents the strips from overheating but also maintains their brightness.
8. Choose Bright White Lighting
If you’re using yellow, orange, or other warm-toned lighting, your room may appear dim. To brighten it up, I recommend using bright white lighting, particularly in the 4000K to 6500K range of cool-toned light. This color temperature provides a bluish hue that looks much brighter than warm tones. Cool white lighting is ideal for task lighting, offering enough intensity to help you stay focused.
9. Pay Attention to Beam Angle
Did you know that the angle of illumination affects brightness? LED strips with a wider beam angle spread light over a larger area, which diffuses the intensity, making the light seem less bright. On the other hand, LED strips with a narrower beam angle appear brighter with the same lumen rating, as the light is concentrated in a specific direction, giving the impression of stronger brightness.
10. Use Multiple LED Strips
One of the simplest ways to increase the brightness of LED strips is by using multiple strips. If reinforcing the power supply or employing other technical methods seems difficult, this is a great alternative. Installing multiple LED strips side by side can provide stronger light output. This method allows you to achieve brighter lighting without purchasing high-lumen lights, and it also ensures even light distribution across the ceiling.
11. Use a Diffuser
At times, excessively bright light can cause discomfort to the eyes. To resolve this, you can use a diffuser. A diffuser is a cover or shield for LED strips that softens the light output. They come in various types, such as clear, frosted, or milky. By using a diffuser, you can achieve soft, clean lighting while maintaining the brightness of the strips.
12. Increase the Distance Between the Surface and the Lights
If the LED strips are installed too close to a surface, the lights won’t have enough space to spread their brightness effectively. Therefore, it’s important to maintain a sufficient gap between the surface and the LED strips. This allows the lights to emit properly and ensures adequate light distribution.
13. Check for Voltage Drops
LED strips are very sensitive to voltage. If there’s insufficient voltage, it will directly affect the brightness. For example, if you have a 24V LED strip but are supplying it with 12V, it won’t provide the desired brightness. Increasing the voltage will result in brighter lighting. Additionally, voltage drops can occur when extending the length of LED strips, so it’s essential to ensure that the power supply matches the voltage requirements of the LED strips.
14. Keep the Lights Clean
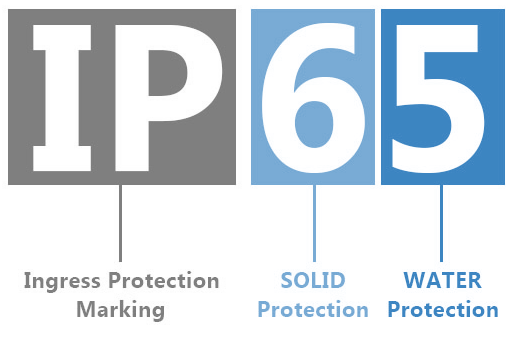
Dust and dirt can accumulate on LED strips, causing them to become dirty. This is especially true in greasy or humid environments where the lights can get even dirtier. Dirt forms a layer over the LEDs, reducing the light output and making the lights appear less bright than before. Therefore, it’s important to clean the lights regularly. Use a dry cloth, or if the lights are very dirty, slightly dampen the cloth. However, make sure the power is turned off. Don’t turn the lights back on until they are fully dry. It’s also important to consider the IP rating of the lights, as LED strips with lower IP ratings could be damaged by moisture during cleaning.
15. Replace Faulty LEDs
LED strips are made up of many LED chips that work together to provide uniform lighting. If one LED fails, it can affect the overall light output, causing issues such as flickering or sudden outages. In this case, identify and replace the faulty LED with a new one to restore the lighting output.
16. Check for Wiring Issues
If the LED strip suddenly dims, check to see if the plug is properly connected. You should also inspect other wiring to ensure that the current is flowing correctly. Turn off the power, check the wiring, and fix any issues. Once the repairs are done, restore power. Fixing any wiring problems will help the LED strip return to its full brightness.
Does Higher Voltage Mean Brighter LEDs—Fact or Myth?
The idea that higher voltage makes LEDs brighter is partially accurate but can be misleading. Each LED has a specific forward voltage at which it operates optimally. At this voltage, it provides the best brightness. Increasing the voltage beyond the LED’s forward voltage may initially make the LED strip brighter. However, this doesn’t necessarily mean that brightness will increase linearly with voltage.
As the voltage increases, the LED lights can overheat. If the voltage exceeds what the LED strip can handle, it can damage the LEDs, leading to a reduced lifespan and potential permanent failure.
To avoid such issues, it’s crucial to use an LED driver that provides the correct voltage and current as specified by the manufacturer. This ensures that the LED lights operate at their intended brightness and longevity.


