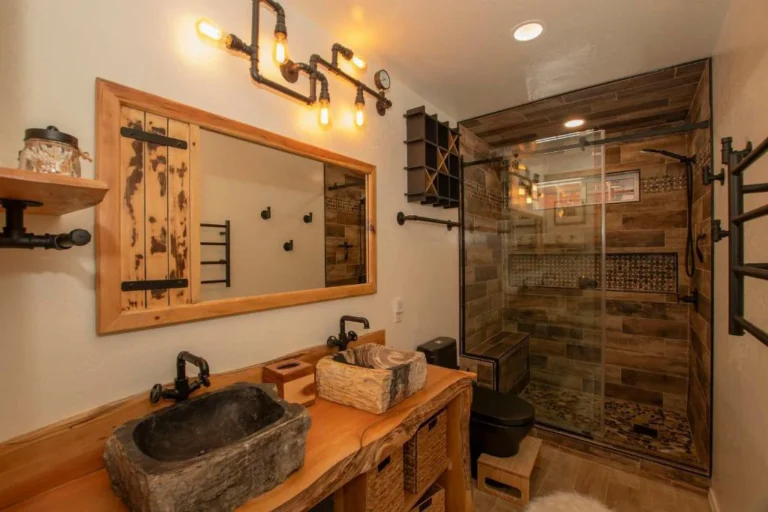
In recent years, LED strip lights are extremely popular on many occasions of lighting design due to their small size, high brightness, and low power consumption. Especially there can be customized easily to fulfil different lighting needs. And they are also extremely versatile, as shown by architects, homeowners, bars, restaurants, and countless others who are using them in every way imaginable.
What is an LED Strip Light?
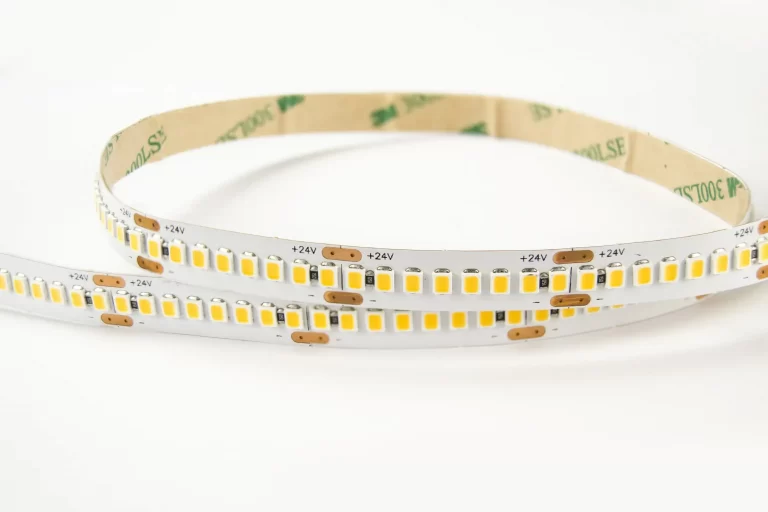
An LED strip light is typically 8mm-10mm in width, and up to 5 meters or more in length. They can be cut to specific lengths using just a pair of scissors along the cut lines. The backside of the LED strip includes double-sided adhesive. LED strips can be made into different shapes as needed, because the circuit board is designed to be flexible.
There are many kinds of LED strip lights. For the most part, they have the following characteristics:
①Easy installation: simply peel off the adhesive liner and mount the LED strip to virtually any surface.
②Low power consumption: operate on low-voltage DC power, so they are more power frugal than traditional bulbs.
③Color control: we can change the brightness and color by using a controller.
④Customization: LED strip lights can be customized according to user’s lighting needs.
LED Strip Lights Producing Process
With the rise and popularity of LED strip lights, the process of making them has become more sophisticated. LED light strips are printed circuit boards (PCB) soldered together to get the desired length. Then LEDs and resistors and other components are mounted to the PCB.
A PCB with components mounted on is called an assembled PCB and the manufacturing process is called PCB assembly or PCBA for short.
Using the PCBA process, we can customize your LEDs on the PCB to meet your specific lighting needs. And at the end of each step, quality testing is done to make sure that our products meet the standards. Let’s take a look at how the process works:
Step 1: Solder Paste Printing
The first step in LED tape manufacturing is to prepare the PCB and paste the LED components on it. This requires a substance called solder paste.
Solder paste is a gray substance that contains tiny metal balls called solder, made mostly of steel with traces of silver and copper. This paste is applied on the PCB where the components are installed.
Due to advances in technology, this step is performed by specialized machines. It is very important to print the solder paste accurately to the installation position of the component.
Mechanical clamps are used to secure PCB and mold. At the same time, the solder applicator places a precise amount of solder at each predetermined location on the PCB. Then the machine spreads the solder paste evenly over the PCB. When the steel mesh is removed, a uniform layer of solder paste is printed to the predetermined position.
Quality Test:
Make sure that the number of solder joints is accurate and prepare for components placement on the solder joints.
Step 2: Component Placement
The main components of LED strips are LEDs, FPCBS (flexible printed circuit boards), resistors, or other components. The step of component placement is manufactured through an assembly process called surface mount technology (SMT). Then install the LED, resistor, and other components on the FPCB where the solder paste is pre-applied.
Quality Test:
After all components are assembled, they are checked again by the quality control department. Make sure there are no misplaced parts, otherwise it will need to be redone until it meets standards.
Step 3: Reflow Soldering
The components cannot be fixed to the PCB until the solder paste hardens. In order to hold the components in place, the PCB board needs to be transferred into a reflow oven. The reflow oven is a long oven with multiple zones where the temperature can be controlled independently as the PCB passes through.
The temperature is reduced through a series of coolers in the oven. This gradually decreasing temperature causes the solder to solidify again. Then LED components and PCB can be firmly connected together.
Lighting Tests:
After the reflow soldering, we will do a quality inspection. We need to light up the LED strip lights to make sure that all the LEDs light up properly. Otherwise, they will be reworked or manually welded until meets the standards.
Step 4: Automatic Welding
The LED light is transmitted from the reflow oven as 50cm strip. Generally, we will weld the PCB segment into 5 meters per roll. They are separated and soldered end-to-end until they achieve the specified length. They can be welded to any length you want through a robot welding arm, so as a reliable LED manufacturer, welding robots are very necessary to ensure the quality of the strip.
Quality Tests:
After the welding is completed, we need to test again whether the overall light strips can be lit normally.
Step 5: Aging Test
Next, the welded LED strip will be placed in the aging test room, light up the strip and work for 12 hours continuously. We call this step aging testing. This test can help us find the quality problem as much as possible before shipment.
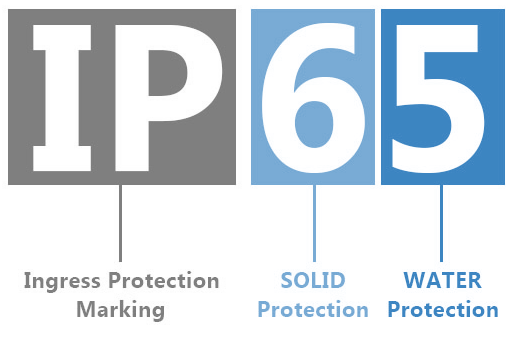
If need to be used outdoors or underwater, they also need to be waterproof and dust-proof.
Step 6: Packaging
After passing all quality checks, we will put 3M tape on the back side. Then users can easily install the LED strip. We use 3M tape, which sticks very firmly to all surfaces.
The last step is reeling the strip lights and packing.
Quality Test:
The last step of the quality test is to check the packaged strip lights randomly.
At the last, here are list some of the key factors that affect the quality of strip lights:
Quality of Copper Wire in PCB
Copper wire quality will affect the performance of LED strips directly, and low-quality copper will also cause obstacles in the current flow, affecting the normal operation of LED strips
Quality of LEDs
As the most important part of all the strip lights, the quality of the LEDs determines the usage experience. High brightness, high CRI, gamut index, fidelity index and saturation are the standards for testing the quality of the LEDs.
Quality of components
Components include resistors, connectors, 3M tape etc. All of these are also important factors for the quality of strip lights. As a professional manufacturer, we ensure that each of the parts must be meet the high-quality standards.
Conclusion
High quality light strips are more expensive, but the labor maintenance costs are lower correspondingly. As we all know that the labor cost is much higher than the product cost, so it will be more cost-effective to choose high quality LED strips. As a leading led lights supplier in China, we can quickly and effectively fulfil all of your lighting needs. If you want to know more about our LED lights or any other questions, we’re here to help.