Understand the Importance of Proper LED Strip Light Installation
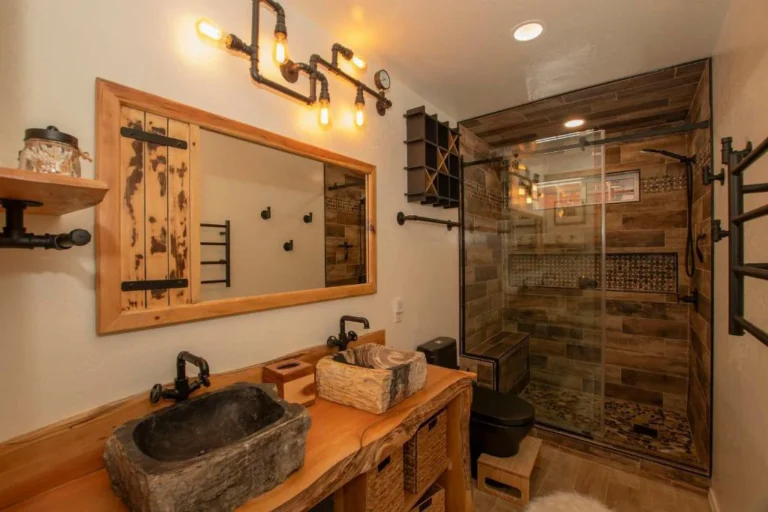
LED strip lights are a great way to add ambiance to any living space. But, uh…how do you attach LED strip lights to your walls without damaging the paint? I mean, nobody wants to ruin their walls, right? Proper installation isn’t just for aesthetics. It’s about protecting the wall paint and ensuring durability. Ensuring a professional look is one thing, but can LED strip lights damage your walls? This is a question we hear a lot, and well…the answer lies in the installation method you choose. An incorrect installation process can lead to wall damage, and we definitely don’t want that to happen. But don’t worry…with the right tools and methods, you can light up your living room, bedroom, or anywhere in your home without any hassles.
Necessary Materials You Need to Safely Attach LED Strip Lights to Your Wall
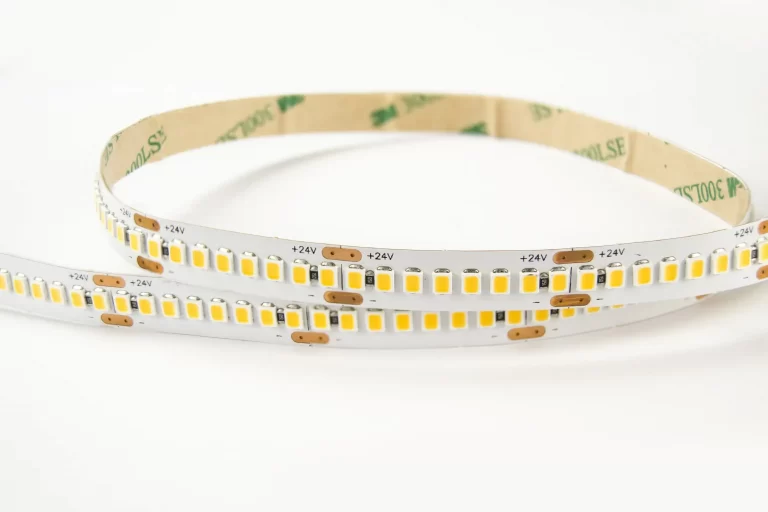
Ready to light up your space? Before we dive into the how-to, let’s make sure you have all the tools ready. First, you can’t hang LED strip lights without LED strip lights! Once you have that, a good adhesive or double-sided tape is also essential. Another tip? Not all tapes are created equal; investing in rolls of tape can make a big difference. Now, don’t forget to grab a measuring tape, something like a sharp knife or scissors, and a clean sponge or paper towel. If you want to go a step further, consider picking up some aluminum channels, mounting clips, and extra adhesive strips for added support. Obviously, you’ll need a power source for those shiny LED lights. Some other things that might come in handy are: a ruler, cable ties, mounting putty, and even a plastic cell phone opening tool. With this toolkit, you can not only stick the lights to the wall, but you can also make sure they don’t hit the wall.
| Material | Function | Importance Level (1-3) |
| LED strip lights | To provide the light source | 1 |
| Adhesive backing/double-sided tape | To stick the LED strip lights onto the wall | 1 |
| Tape measure | To measure the length and positioning of LED strip lights | 1 |
| Sharp knife or scissors | To cut the LED strip lights to desired length | 1 |
| Clean sponge/paper towels | To clean the wall before attaching the lights | 2 |
| Aluminum channels | To give a sleek look and provide protection for the LED strips | 2 |
| Mounting clips | To provide additional support without using adhesive | 2 |
| Extra adhesive strips | For added support and backup in case the initial ones fail | 3 |
| Power source | To power the LED strip lights | 1 |
| Straight-edge ruler | To ensure the lights are hung in a straight line | 3 |
| Cable ties | To manage and tidy up cables | 3 |
| Mounting putty | Alternative adhesive option | 3 |
| Plastic phone opener tool | For precise separation or positioning of LED strips | 3 |
Note: Level 1 – Essentials you absolutely need; Level 2 – Highly recommended for an optimal setup; Level 3 – Optional, but can enhance the installation process.
Step 1: Measure and Plan Where You’ll Place Your LED Strip
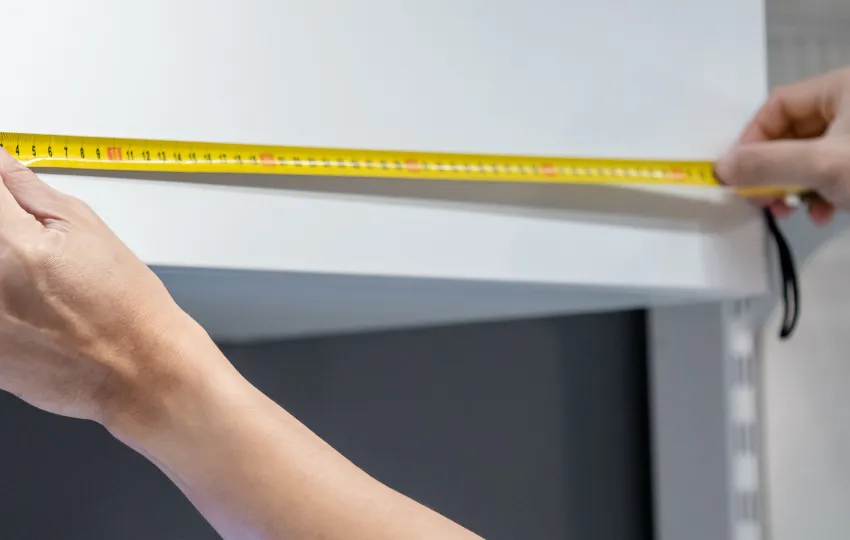
Okay, let’s start making a plan. Picture this: You’ve just installed those LED lights, and oops, they’re all crooked. That’s not the sophisticated look we were going for! So get out your measuring tape and determine where you want those LED lights to twinkle. Jot down the exact length you need. Maybe you’re thinking of mounting the strip next to your bed, around your TV, or lighting up a special corner of the room? Once you’ve chosen the perfect spot, use some masking tape to mark your start and end points. A word of advice: If you’re wondering how to install LED strips without damaging your walls, it all comes down to good preparation. A little thought now can save you from major mistakes later.
Step 2: Cut the LED Strip to the Required Length
With the measurements in hand, you can start cutting. But wait… don’t rush to use the scissors! On the LED strip, you’ll see specific cut marks, usually indicated by a line or a small scissor icon. Take a sharp pair of scissors or a knife and cut at these designated locations. Precise cutting will not only make it look neat; it will also ensure that your LED lights work properly. Because, let’s face it, what’s the point of sticking the LED strip on if it doesn’t light up properly?
Step 3: Prepare the Surface to Stick
Before you can put these lights on, your wall must be clean and tidy. Wipe it clean with a sponge or paper towel with a little solvent or acetone. As a reminder, do a small test spot first to make sure the solvent won’t stain your paint. Try to choose a surface that is free of dirt and grease. This way, adhesives such as glue or double-sided tape can actually stick. Wondering how to install LED lights without ruining your paint? It’s all in the preparation stage. Once the wall is clean and dry, you can start working.
Step 4: Apply Adhesive or Double-Sided Tape
Now, you have to be a little strategic. If you’re thinking about how to install your LED strip without ruining the paint, the choice of adhesive is key. Some double-sided tapes have a stronger grip than a caffeinated octopus. So it’s wise to choose a double-sided tape made specifically for LED strips. Lay the tape over the LED lights and press firmly. Make sure everything is smooth and there are no pesky bubbles. Another little wisdom? Only remove the tape backing when you’re 100% ready to apply the LED strip to the wall. Take your time!
![]()
Step 5: Align and Install LED Strips
Now comes the moment of truth. You’ve done all the groundwork, it’s time to take it home. Start by gently peeling off the backing on one end of the double-sided tape or adhesive. Align the LED strip with the mark you set earlier and press it onto the wall. Take it one step at a time and make sure everything is straight and stuck down. Wondering how to get these LED strips up without any issues on the wall? It’s all about alignment. Go too fast and you might get a skewed line or some annoying bubbles. Trust me, taking your time now can save you from having to redo it later.
Step 6: Test and Adjust Lighting Effects
Before you relax and admire your masterpiece, plug in these LED strips and see how they work. Flip the switch… Ta-da! Pretty amazing, right? Pay attention to anything that might be dim or not lighting up the way it should. If something is wrong, you might need to make some adjustments. Remember, it’s not just about hanging the LED lights without messing up the paint, it’s also about achieving the ideal light effect. Sometimes it’s these finishing touches that make a huge difference.
Do LED Strip Lights Damage Paint?
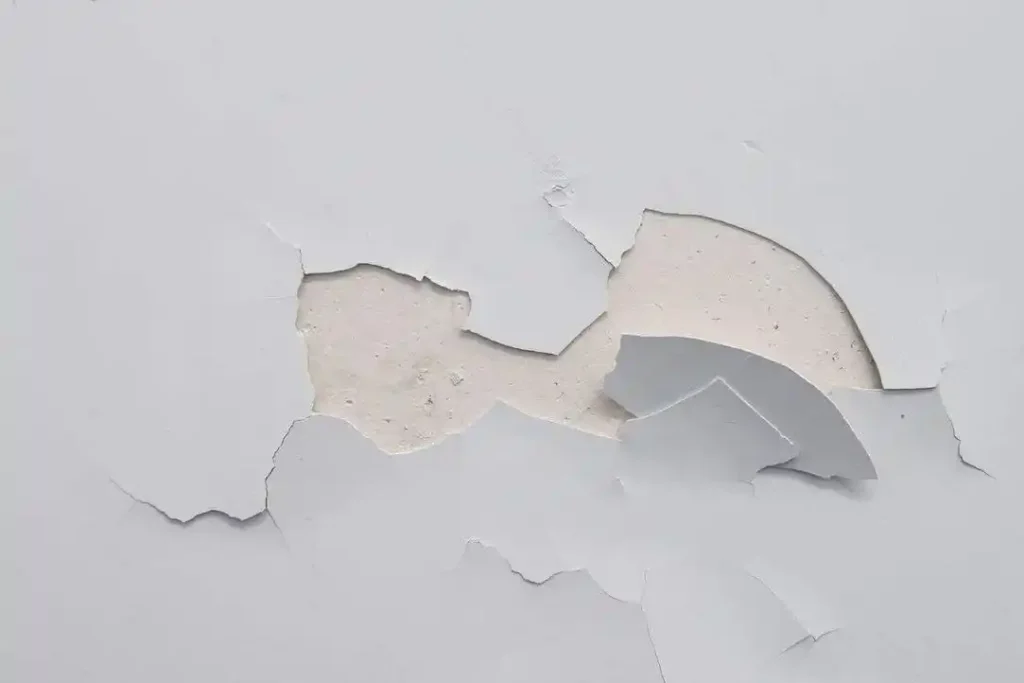
Myth You may have heard the rumor: Can LED strip lights damage your beloved wall paint? Let’s get straight to the point… the answer is “maybe”. That’s not the straight answer you wanted, right? Here’s the truth: The real threat to your walls is not the lights, but the quality of the adhesive and paint you use. Some tapes may take away some paint or leave a sticky mess when you remove them. If your paint job is a bit shoddy or poorly done, it may be more susceptible to staining. Therefore, the problem is not the LED lights, but how you install and remove them. When figuring out how to install these LED strip lights without causing a paint disaster, choose your adhesive wisely and make sure your paint job is top-notch.
How to safely remove LED strips from your wall?
There’s a time for everything, right? Maybe one day you’ll decide those LED strips need a new home, or they don’t need one at all. So how do you remove them without leaving behind signs of ruining your wall? Rule number one: resist the urge to just rip them off. Take a deep breath and take your time. A little heat from a hair dryer can make the adhesive stick easier. Then, using a plastic tool (like the ones you use for cell phone repairs) or a flat spatula, lift the LED strip off the wall, bit by bit. If it’s tough to stick, applying heat might help. If there are some sticky spots left afterward, a little solvent or adhesive remover will do the trick. Easy, right?
Tips and tricks for maintaining and cleaning LED light strips
LED light strips are generally easy to use, but they do need a little care occasionally. Over time, they can accumulate dust and dirt, which can dull their shine. A gentle wipe with a soft cloth can keep their shine. If you’re considering how to install LED lights without damaging your walls, remember that good maintenance is part of the equation. For a more thorough cleaning, you can use a slightly damp cloth with a mild detergent – avoid anything too chemically harsh, which can damage the light strip. It’s also wise to do some testing of the lights from time to time, especially when they’re connected to a dimmer, to ensure they’re shining their brightest.
Explore Alternatives: Light Clips and Mounting Channels
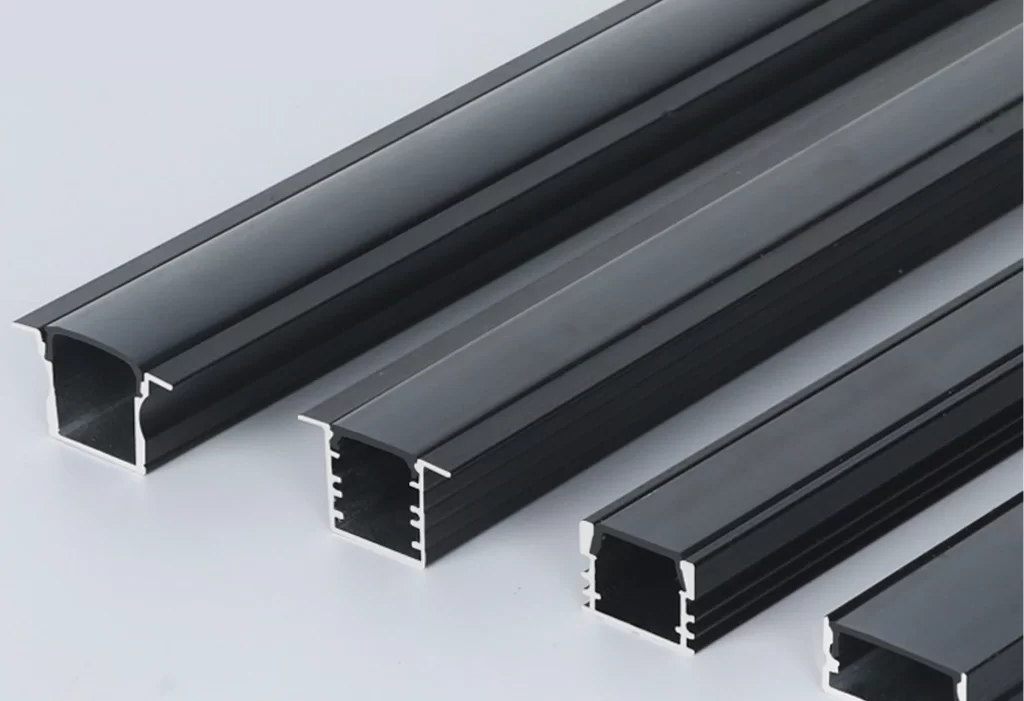
Sometimes, you might want to explore the road less traveled. If the idea of sticking something directly to the wall makes you uneasy, there are other options. Light clips and mounting channels, for example, offer alternative ways to install LED light strips without having to stick them directly to the wall. Light clips can be spaced along the length of the LED light strip, providing support without the need for adhesive. They are particularly handy if you are considering how to mount your LED strip to a wall in a semi-permanent solution. Aluminum mounting channels, on the other hand, give a sleek, professional look. Not only do they protect the LED strip, but they also provide a neat and clean installation. So if you’re after an ultra-modern aesthetic, mounting channels may be your best choice.
Conclusion
LED light strips are a great way to elevate the ambiance of any room. But the lingering question of how to affix LED light strips to a wall without damaging the paint can be a little daunting. With the right tools, materials, and a little patience, you can achieve a dazzling display without harming your wall. Whether you choose adhesive, clips, or mounting channels, the key is to be meticulous and patient. Remember, it’s not just about lighting up a room; it’s about doing it with style and finesse. So go ahead, make your space shine, and bask in the glow of your craft!
